

Being stuck at home isn’t easy!
After a long day of working from home, you may be looking for something else to keep you busy. Instead of re-watching your favorite Netflix show, what about doing something that will spark your creativity?
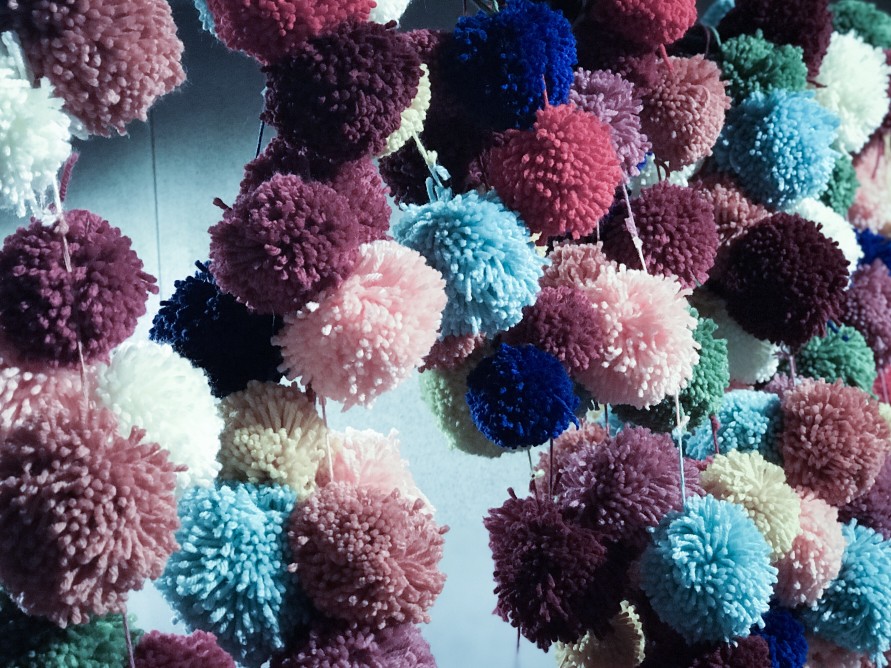
This is why I decided to embark on a new project or more so, a focus. I’ve been seeing pom-poms everywhere from jewelry to home décor and I must admit, I love a good pom-pom. So I took it upon myself to scour the internet and try every pom-pom making method out there.
Dozens of pieces of string later, I can say I’m superior to the pom-pom.
Now I don’t plan on having a life-size bowl of these hanging around my apartment. Instead I was …. well before I get ahead of myself let me show you how to master this DIY.
Step 1: Pick your Yarn
Now depending on what you want your pom-poms to look like determines what you use to make them. So, you have two options. You can either use yarn, and if so I recommend acrylic, or you can use embroidery floss.
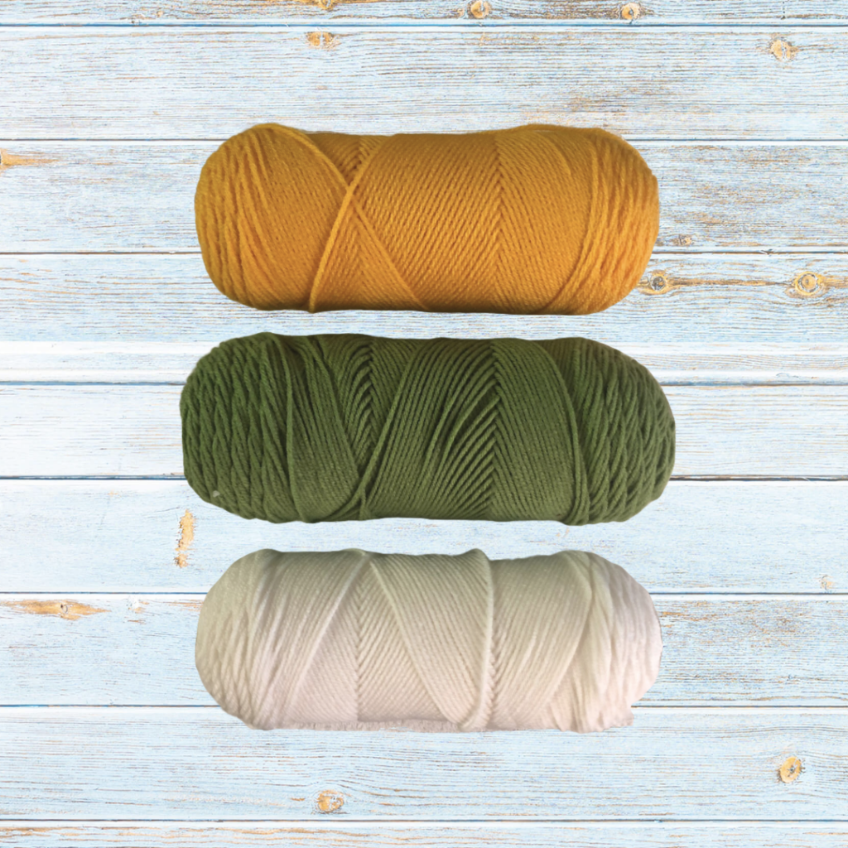
For the purpose of this blog post, I will be using acrylic yarn. As a side note, have an idea of what you want your end product to look like.
I can tell you from personal experience crafts stores have dozens of colors of yarn, so if you don’t walk in with a clear vision it’s easy to get side tracked.
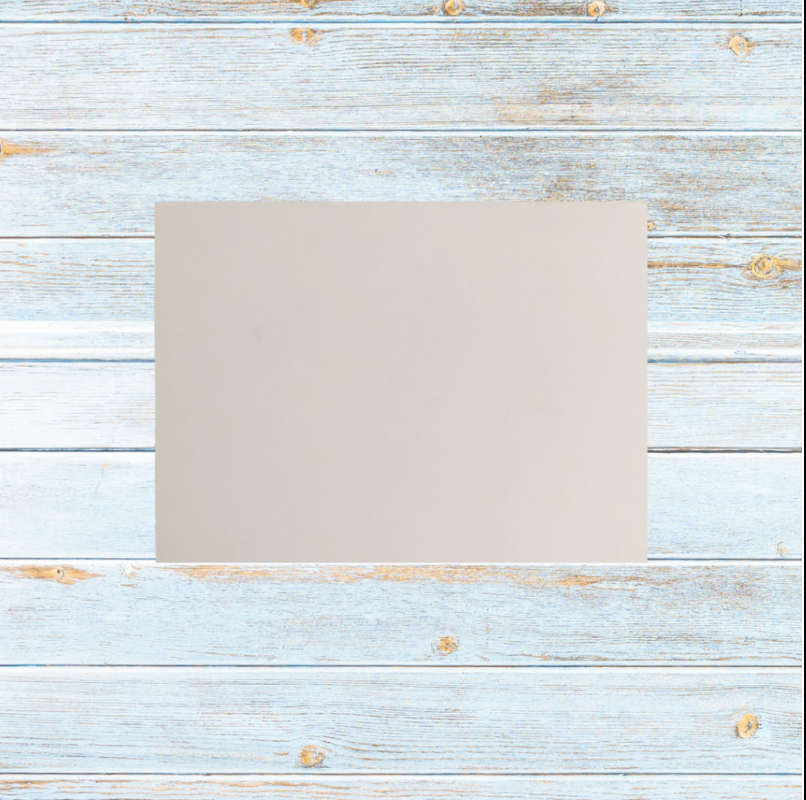
Step 2: Create your “Mold”
This step is important because, besides the yarn, it will be your primary tool in creating your pom-poms.
First, you’ll need to get preferably a piece of paper and something thicker than your average printer paper. It doesn’t have to be anything big or crazy.
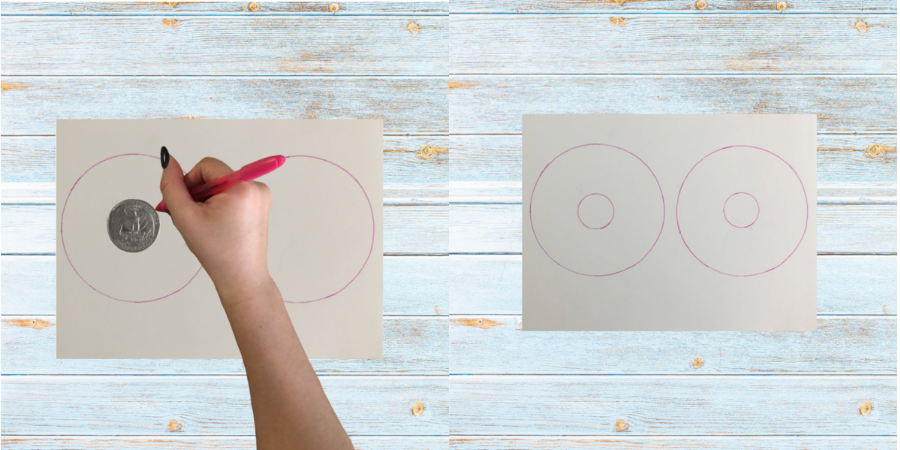
Next, you want to find something with a round bottom that you can trace. This will be the mold for you to create your pom-pom.
I found that the bottom of a coffee mug worked well for me. Once you have your item, go ahead and trace it twice onto your paper. You will need two molds.
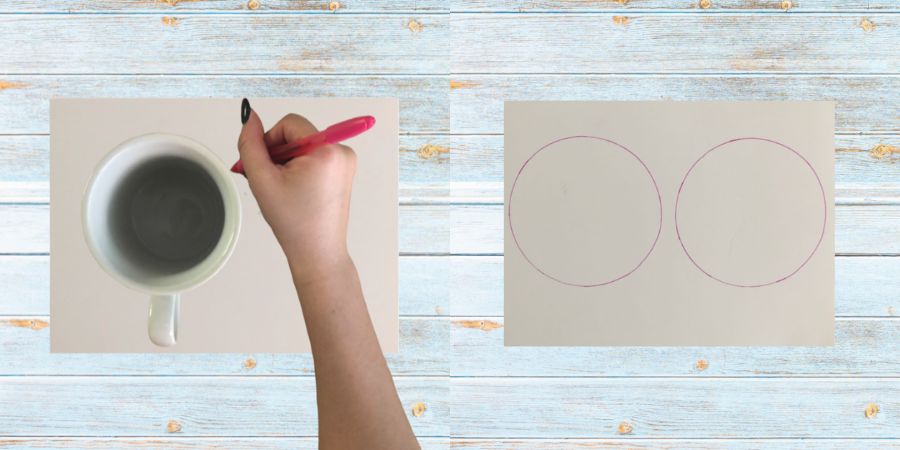
You’ll need to select one more item to trace. For this I found a quarter to be the perfect size, but anything similar will do. Once you have that, place your item in the middle of the circle you just traced, and trace that.
Step 3: Cut your Mold
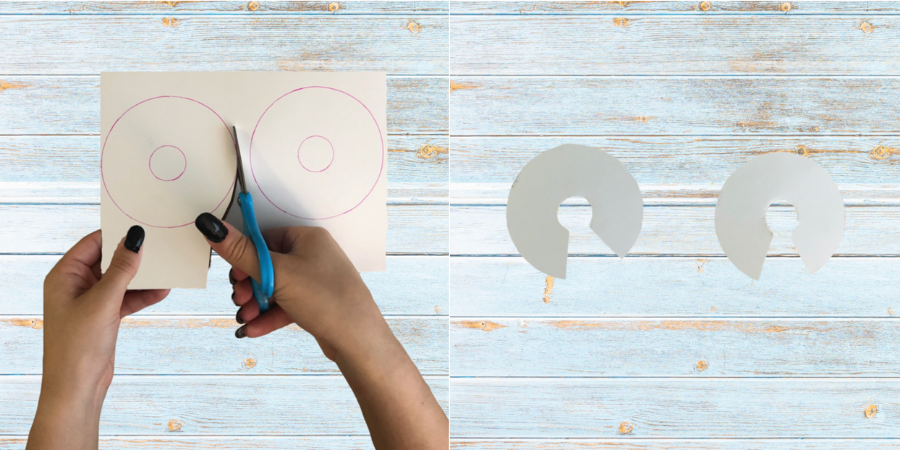
Grab your scissors and cut both of the larger circles out. Then, cut out the smaller circle. To do this, you’ll want to cut a chunk out of the bigger circle as your opening to cut, and where you will eventually wrap your yarn.
Step 4: Wrap your Yarn
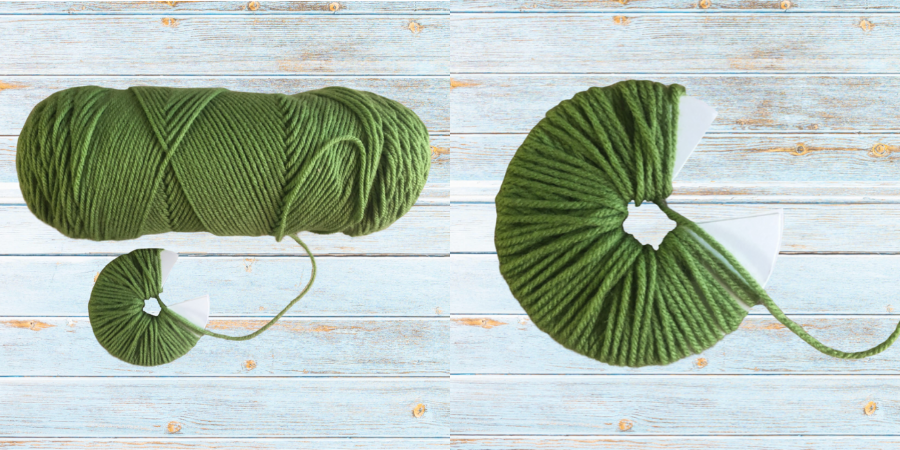
At this point your molds are complete! Grab whatever color of yarn you’d like to start with. You can either cut a piece off, or I like to leave it attached so nothing gets tangled.
Take both your molds and place one on top of another. Start by wrapping your yarn around the molds at a moderate tension. A good way to tell if you’re wrapping too tight is if your mold is warping.
If so, loosen up you’re going to be using this mold for a while, so you’ll need it. At the same token, you don’t want your yarn falling off either.

Continue doing this until you’ve gone all around your mold. You can do this however many times you’d like. Essentially the more you wrap it the bigger your pom-pom will be.
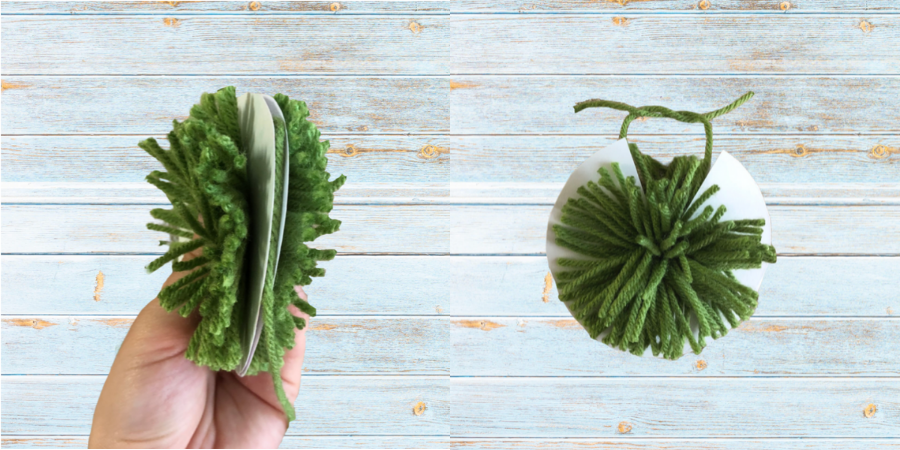
Step 5: Cut your Pom-Pom
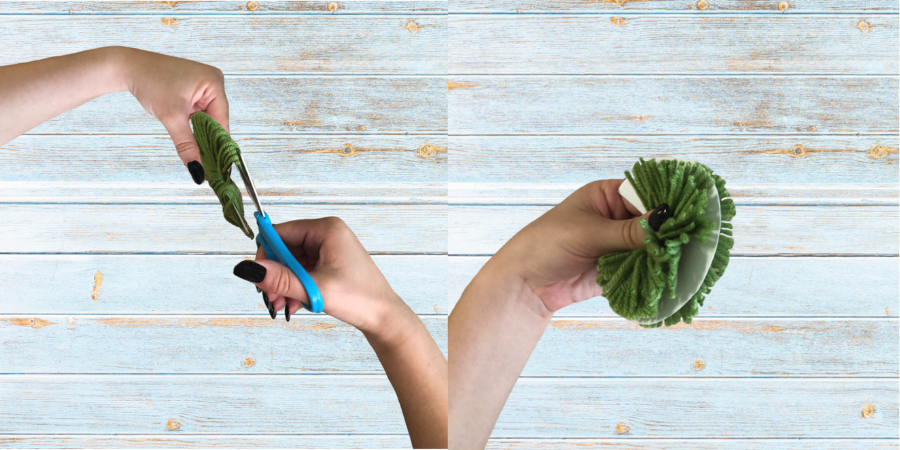
You’ll need your scissors again, so find those. This next part can be tricky, but if you go slow you’ll be okay. Take your scissors, place them in between your two molds and cut. Continue doing this around the rest of the mold until all your yarn is cut.
Step 6: Knot your Pom-Pom
Going back to your ball of yarn, cut off a piece about 12 inches long. You won’t need all of this, but I prefer to have more rather than less. You’re going to slide this in between your two molds. Then go ahead a tie a knot. This will keep your string together and essentially form your pom-pom.
Step 7: Remove Mold/Trim
Now you’re ready to remove your molds and see your pom-pom.
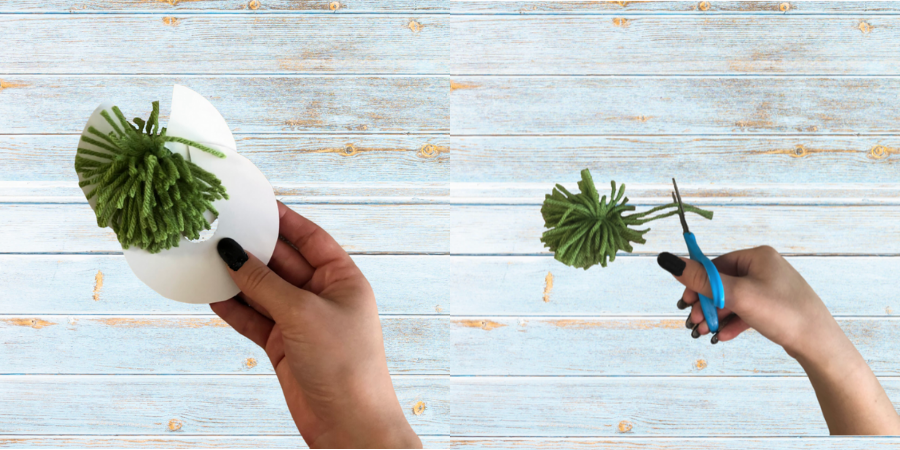
Finally, cut the excess string off that you used to tie your knots. If desired, give your pom-pom a little trim to clean it up.
And now you’re done! Just keep repeating this until you have your desired number of pom-poms.
How to use your Pom-Poms?
Woah, okay, getting back to what I started saying earlier, my intention isn’t to have a bowl of pom-poms just hanging around.
Instead I have quite a few projects in mind.
First up is the throw pillow. Now I would show you, but it isn’t quite ready for eyes yet. For this, I made a bunch of different colors and sizes of pom-poms and covered one side of my throw pillow. On the other, I used an iron-on-transfer.
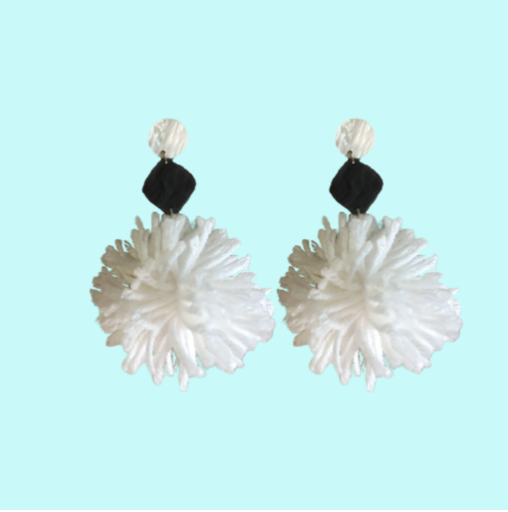
My next project to tackle is jewelry! I’ve recently seen quite a bit of it that looks perfect for the upcoming warm summer months featuring both pom-poms and tassels. Now I didn’t include it in this post, but it’s simple to make a tassel. You can use the same embroidery floss that you might have used to make the pom-poms! This is a great way to use up all your string scraps.
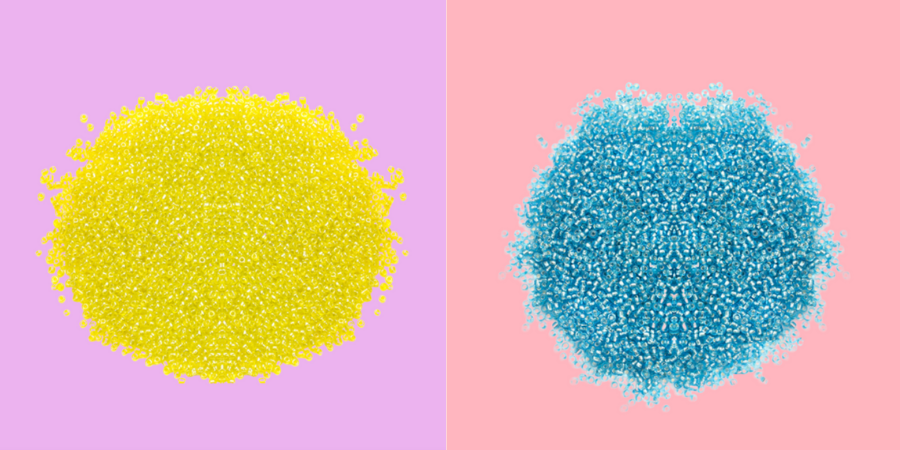
You can dress up your pom-poms with beads! For this, it’s important to take into account the material used to create yours as well as the size. This will determine the size of beads you can use. For mine I’ve found that glass seed beads have worked well and provided me with that extra sparkle! So far I’ve used both the yellow and turquoise!
For now these pom-pom DIY’s will be keeping me busy. I’m sure I will get myself into many more pom-pom endeavors as I go, but these are a great place to start!
And if pom-poms just aren’t your thing, but you still want to do these projects, have no fear! You can purchase a pack that comes with pom-poms and beads, so all you have to do is assemble!
Happy DIYing! Till next time …. craft on ?