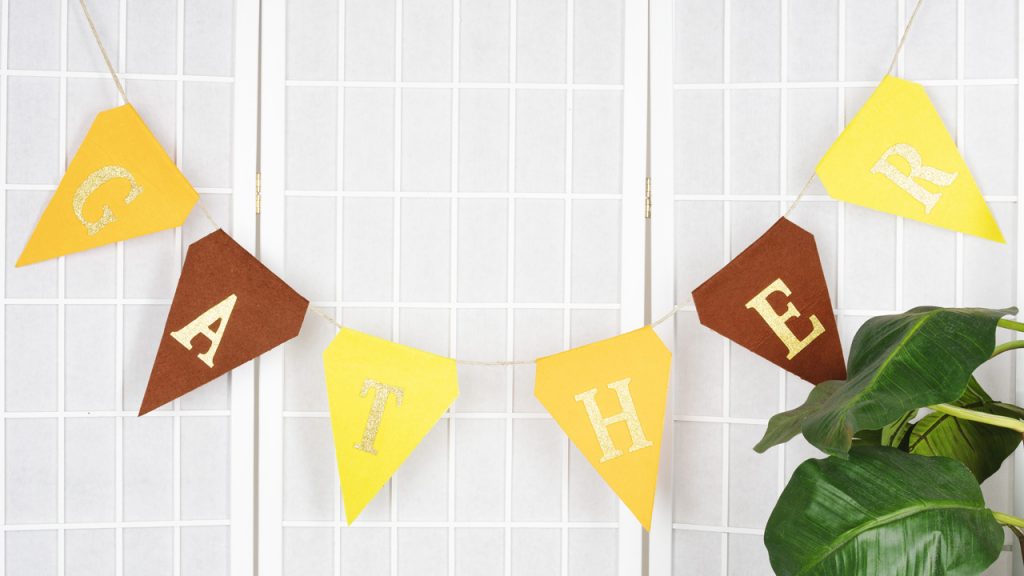
Thanksgiving ‘GATHER’ Banner
[addtoany]
Instructions
Tools & Other Supplies Needed
Letter and Banner Pages from Instructions
Scissors
Heavyweight Paper for printing pattern pieces
Hot Glue Gun (Adult Supervision Mandatory)
Ruler or Measuring Tape
Techniques to Know
Tracing & Cutting
Glue Gun
Basic Knot
INSTRUCTIONS:
1. Print the letter template page from instructions onto heavyweight paper and cut out the letter pattern pieces.
2. Turn letter pattern pieces over backwards and place them on the back side of a sheet of gold adhesive back glitter foam, trace around them, and cut them out so gold glitter is on the top side of the letters.
3. Print the two banner template pages from instructions onto heavyweight paper and cut them out to make two different banner shape pattern pieces, one will be shorter than the other.
4. Trace and cut out each banner pattern onto the back side of two orange, brown, and yellow pieces of adhesive back felt. (You will have a total of four banner pieces for each color – two short and two long.) Trace the fold and cut lines onto the back of the longer banner pieces.
5. Remove the bottom tip of adhesive film covering from the shorter of two felt banner cut-outs of the same color. Leaving the adhesive film covering on the longer of the two banner cut outs, line up the two banner pieces back-to-back, continue removing the adhesive film covering from the shorter of the two pieces, and adhere the two pieces together. Repeat this step so you have two banner pieces for each color of felt. Use scissors to trim off any excess from side edges that don’t line up evenly.
6. Turn joined banner pieces upside down, in the following order: orange, brown, yellow, orange, brown, and yellow. Fold the longer side of each banner piece over the shorter side, along the fold-line. Run fingers along the fold to form a crease.
7. Flip the fold back up. Carefully cut or rip the adhesive backing off the very top of that side of the banner piece along the straight line that is above the fold line.
8. Cut a 3 yd. length of cord and lay the cord along the cord channel section on the back sides of the banner pieces.
9. Place dots of hot glue along the adhesive on the top of the back side of the banner. Fold and adhere the flap over so the cord will slide along the channel.
10. Turn the banner pieces over. Measure up 3 ½” from the bottom tip on the front side of each joined banner piece. Remove the backing on each glitter letter and adhere them to the center of each banner piece, in order.
11. Space the banner pieces along the cord as desired and tie hanging loops on each end of the hanging cord. Trim off any excess cord.
12. Hang and admire your banner!
Get the Supplies
| Image | Name | Summary | Price | Buy |
|---|
| 64.5yd Natural Hemp Cord | This Natural Hemp Cord is great for many kinds of projects as well as jewelry. Create beautiful weaves, braids, wrapped projects and more for endless possibilities!
Our hemp products are not intended for and have not been tested to any food safety standards. We do not recommend using with food or in the oven.
| $9.99 |
|
| Adhesive Back Stiff Felt, 6x9 inch, 18 Pack | Perfect for many arts and crafts applications, felt can be easily cut to custom shapes and sizes
Self-adhesive back makes application quick and easy
Ideal for crafts, stationary, bags, décor, design, boxes, and more
Approximately 1.25mm thickness
6 x 9 inch
Each pack includes 18 pieces
Color: Multicolor
| $7.99 |
|
| Glitter Sticky Foam, 9 x 12 inch, 6 Pack Assorted Colors | Foam sheets are perfect for countless DIY projects and crafts!
Quality foam construction with precisely cut measurements
Foam sheets can be used in a lot of die-cutters as well as easily cut by hand with scissors, craft knives and more
Great for kids and adult art projects, crafts, framing, matting, scrapbooking, cards, and more!
Pack Includes (6) 9 x 12 inch Foam Sheets
2mm Thickness
Color: Natural
| $12.99 |
|


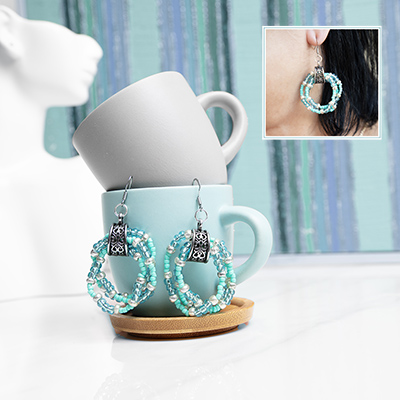 Beaded Spring Earrings
 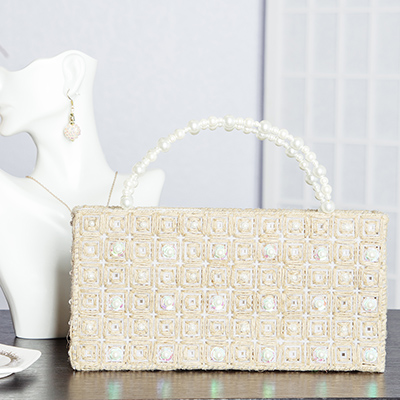 Needlepoint Plastic Canvas Hemp & Pearl Handbag
  Mother’s Day Chenille Pipe Cleaner Flower Bouquet
 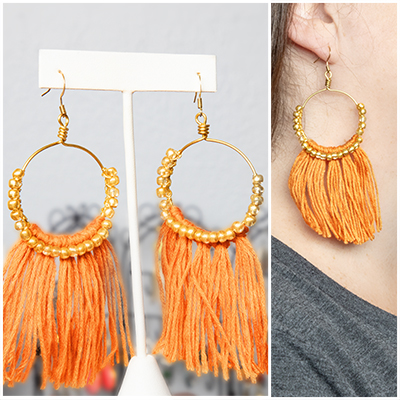 Spring Macrame Earrings