CousinDIY > > Polymer Clay Necklace & Earrings
Polymer Clay Necklace & Earrings
[addtoany]
Instructions
Tools & Other Supplies Needed
Clay Roller
*Glass or Marble Rolling Surface (if available)
*Wax Paper (optional – see step 3)
*Scotch Tape (optional – see step 3)
Parchment Paper or Aluminum Foil
Single Edge Razor Blade or Clay Cutter
Needle Nose Pliers
Round Nose Pliers
Crimping Pliers
Toothpicks or Metal Bead Pins
(*Glass or marble rolling surface is preferable. If you don’t have those, cover your work surface with a smooth piece of wax paper. Tape sides and top of wax paper in place.)
Techniques to Know
Building Polymer Clay Flower Canes
Jump Rings
Crimp Tubes
Form a Wire Loop
INSTRUCTIONS for MAKING YOUR BEADS:
1. Line cookie sheet with parchment paper or aluminum foil. Preheat oven to 268 degrees. Choose a couple neutral colors of clay for making the base of your clay beads.
2. Knead the clay in between your hands and fingers to condition and loosen it up a bit. Roll pieces of clay between the palms of your hands to create desired bead size and shape. Repeat to make enough bead bases to make a necklace and pair of earrings.
3. Use toothpicks or metal bead pins to carefully create beading holes in your beads. Remove toothpicks or bead pins. Carefully place the bead bases onto the lined cookie sheet and bake 25-30 minutes. Remove from oven and allow to cool.
4. While bead bases are baking, choose at least three clay color(s) for the center, petals, and outer surrounding clay for each polymer flower cane. (We built two flower canes.)
5. Knead the center clay color in between your hands and fingers to condition and loosen the clay up a bit. On your rolling surface, use your hand to roll a section of that clay into a tube for the center of your cane flower. (See Illustration 1) (Pro tip: form tube by smoothly rolling clay back and forth from the tip of your fingers down to the base of your palm.)
6. Use the techniques from step 5 to form five tubes with the clay color you chose for the petals of your flower cane. Lay the petal tubes lengthwise, evenly along the outside of the center color tube of clay. (See Illustration 1)
7. Use the techniques from step 5 to form five thinner tubes with the outer clay color you chose for your flower cane. Lay these tubes evenly between the petal tubes of your cane. (See Illustration 2)
8. Roll the remainder of the clay color used in the previous step into a rectangular shape large enough to surround the flower cane. Wrap it around the flower cane and cut the clay to fit around the cane. Use your fingers to join and smooth the joined ends of the clay together. (See Illustration 3)
9. Repeat steps 4-8 to make as many flower cane color combinations as desired to make the beads you will use in your necklace and earrings.
10. Put your flower canes in the refrigerator for approximately 15 minutes to firm up the clay. Place flower canes on your cutting surface and use the razor blade or clay cutter to cut thin crosswise flower strips from your flower canes.
11. Place a bead base onto a toothpick or metal clay pin. Press flower strips around the sides of the bead base and use your fingers to smooth them together, trying not to leave fingerprints on the surface of the clay. (The number of flower strips needed for each bead will depend on the size of your bead bases.)
12. Repeat steps 10-11 to make enough beads for your necklace and earrings.
13. Preheat oven to 265 degrees. Carefully place the bead bases onto the lined cookie sheet and bake 25-30 minutes. Remove from oven and allow to cool.
NECKLACE INSTRUCTIONS:
1. Arrange your baked clay flower beads as desired. Cut a length of beading wire long enough to string your necklace beads and spacer beads onto, adding an additional two inches of wire on each end.
2. String your beads onto the wire adding the following gold spacer beads between each bead: round bead, saucer bead, round bead. String on only one gold round bead after the last bead on each end of the necklace.
3. Connect a 4mm jump ring to a lobster clasp. Slide a crimp tube onto one end of the beading wire. Bring the wire through the 4mm jump ring and back through the crimp tube. Use crimping pliers to securely close the crimp tube. Trim off wire tail.
4. Slide a crimp tube onto the other end of the necklace wire. Bring the wire through a 6mm jump ring and back through the crimp tube. Use crimping pliers to securely close the crimp tube. Trim off wire tail.
(PRO TIP: If you want a longer necklace, skip steps 3 and 4. Use jump rings and crimp tubes to attach an equal length of extender chain to the wire on each end of the necklace. Attach a 6mm jump ring to a lobster clasp and connect that jump ring to the end of the extender chain on one end of the necklace. Attach another 6mm jump ring to the end of the extender chain on the other end of the necklace.)
Earring Instructions:
1. Choose a bottom clay flower bead and a top clay flower bead for each earring.
2. Slide a gold round bead, gold saucer bead, bottom clay flower bead, and gold round bead onto a head pin. Trim the head pin stem and form a loop to make a bead drop.
3. Slide a gold saucer bead, top clay flower bead, and gold round bead onto an eye pin. Trim the stem of the eye pin and form a loop to make a bead link.
4. Join the loop on the bead drop to the loop on the gold saucer side of the bead link.
5. Attach an earring wire to the loop on the other side of the bead link.
6. Repeat steps 2-5 for the matching earring.
Get the Supplies
| Image | Name | Summary | Price | Buy |
|---|
| 145 Piece Jewelry Findings Starter Pack In Antique Gold | This 145 piece antique gold starter pack is the perfect way to kickoff your homemade jewelry creations! This introductory pack for beginners or experienced makers includes chain, lobster claw clasps, earring hooks, toggles, head/eye pins, jump rings, and crimp beads.
| $3.99 |
|
| 40ft Gold 7-Strand Metal Beading Wire | Take your design to the next level with this Gold 7-Strand Metal Beading Wire can be used to create airy light-weight strands, sturdy threading, and generally connecting elements of all kinds. Use a doubled overhand knot or crimp beads for a strong hold.
| $1.99 |
|
| DIY Polymer Clay Jewelry Making Kit With Case, Tools, Molds, Acccessories And 50 Colors! | Cousin DIY Polymer Clay Jewelry Making Kit with Case, Tools, Molds, Acccessories has everything you need to start making custom polymer clay jewelry and accessories. With over 50 colors there is a ton of creativity in this small and convenient plastic carrying case! The silicone molds, glitter and leaf glitter give tons of opportunities to customize to your own creativity. This inclusive resin jewelry making bundle makes a great gift for the maker that you love, or for yourself! Includes 50 different colors of polymer clay that can be shaped and molded into almost anything you want!
Silicone mold is included, or custom shapes and designs can be created
Includes 5 colored beads, 7 Fishhook earrings, 7 Eye Pins, 5 Clay shaping tools, 1 Hairpin holder base
| $31.99 |
|


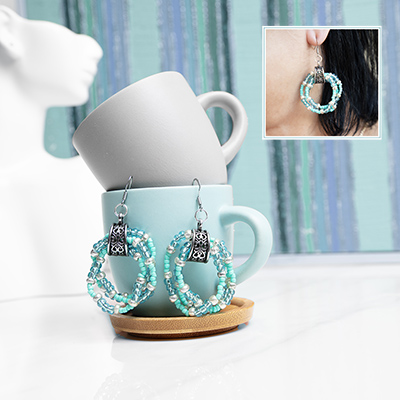 Beaded Spring Earrings
 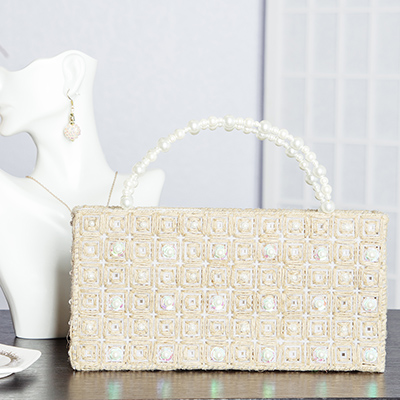 Needlepoint Plastic Canvas Hemp & Pearl Handbag
  Mother’s Day Chenille Pipe Cleaner Flower Bouquet
 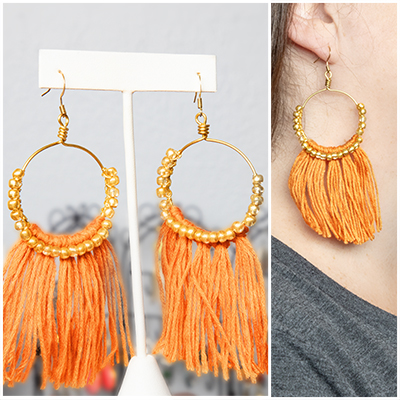 Spring Macrame Earrings