CousinDIY > > Hanging Macramé Kitchen Storage Bag
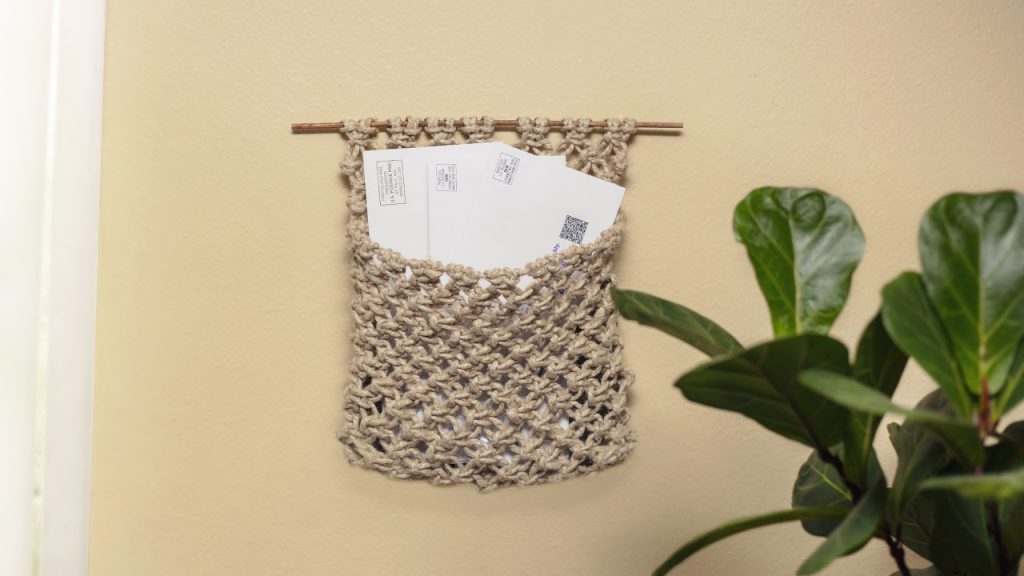
Hanging Macramé Kitchen Storage Bag
[addtoany]
Instructions
Tools & Other Supplies Needed
Wood Stain (in color of choice)
Small Foam Paint Brush or Old Rag
Scissors
Ruler
Clear Drying Craft Glue
Small Nails or Cup Hooks
INSTRUCTIONS:
1. Use foam brush or rag to stain a dowel. Allow stain to dry.
2. Cut fourteen 6’, fourteen 6.5’, two 7’, and one 20” lengths of hemp cord.
3. From left to right, use lark’s head knots to attach the middle of each 6’ cord onto the wooden dowel. There are now 28 working cords. Divide those cords into seven sets of four working cords each.
4. Row 1: From left to right, tie each set of four cords into square knots.
5. Row 2: Tie cords 1-2, together, into an overhand knot. Beginning with cords 3-6, tie each consecutive set of four cords into alternating square knots. Tie cords 27-28, together, into an overhand knot.
6. Repeat steps 4-5 one time.
7. Repeat step 4 one more time.
8. Adding on the front of the bag: Go back to the last row that began and ended with an overhand knot. Use a secure single half hitch knot to tie one end of the 20” cord around the left outside cord of that row, that lies just below the first overhand knot in the row. Drape approximately 11-12” of the 20” cord across all the working cords. Use a secure single half hitch knot to tie the other end of the 20” cord around the right outside cord of that row, that lies just below the last overhand knot in the row. Place a dab of glue onto each half hitch knot, allow glue to dry, and trim remaining tails.
9. From left to right, use lark’s head knots to attach the middle of the following cords, in order, to the draped cord from the previous step: one 7’ cord, fourteen 6’ cords and one 7’ cord. Divide these cords into eight sets of four working cords each. (You now have thirty-two working cords hanging from the draped cord across the front of the bag.
(The first two and last two working cords will be longer than the others.)
10. From left to right, tie each set of four cords, hanging from the drape cord, into square knots.
11. Connecting the front of the bag to the back of the bag: On the left side of the bag, tie the first two cords from the back side of the bag and the first two cords from the front side of the bag, together, into a square knot. On the right side of the bag, tie the last two cords from the back side of the bag and the last two cords from the front side of the bag, together, into a square knot. (This connects the front side of the bag to the back side of the bag.) Working your way around the bag, tie the remaining sets of four cords, from that row, into square knots.
12. Continue working your way around and around the bag, tying groups of four working cords into rows of alternating square knots. Once you have reached nineteen rows of alternating square knots on the back side of the bag and fifteen rows of alternating square knots on the front side of the bag, turn the bag inside out.
13. Find the middle twenty-eight working cords on both the back side and front side of the bag. You will have two longer working cords remaining on both the left and right sides of the bag. (These side cords will become the middle cords of square knots that will finish off the bottom of the bag.) Bring the working cords from both the front and back sides of the bag, up and out of the way.
14. Join the two longer cords from the left side of the bag, together, and lay them along the opening between the bottom front and back sides of the bag. Working from left to right, tie individual corresponding working cords from each the front and back sides of the bag, around the joined cords, into square knots. Continue this sequence until you have reached the middle of the bottom of the bag.
15. Repeat the previous step with the two longer cords from the right side of the bag, working from right to left, until you have reached the middle of the bottom of the bag. Place a dab of glue at the ends of each square knot and allow to dry. Trim remaining square knot tails.
16. Tie the tails of the joined middle cords from each side, together, into secure overhand knots. Place a dab of glue onto each knot and allow to dry. Trim remaining tails.
17. Turn bag right side out. Use small nails or cup hooks to hang your kitchen bag.
Get the Supplies
| Image | Name | Summary | Price | Buy |
|---|
| 64.5yd Natural Hemp Cord | This Natural Hemp Cord is great for many kinds of projects as well as jewelry. Create beautiful weaves, braids, wrapped projects and more for endless possibilities!
Our hemp products are not intended for and have not been tested to any food safety standards. We do not recommend using with food or in the oven.
| $9.99 |
|


 Beaded Spring Earrings
 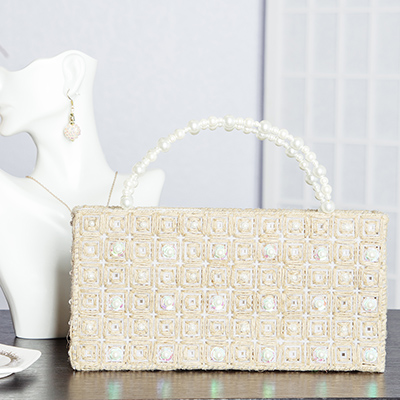 Needlepoint Plastic Canvas Hemp & Pearl Handbag
  Mother’s Day Chenille Pipe Cleaner Flower Bouquet
 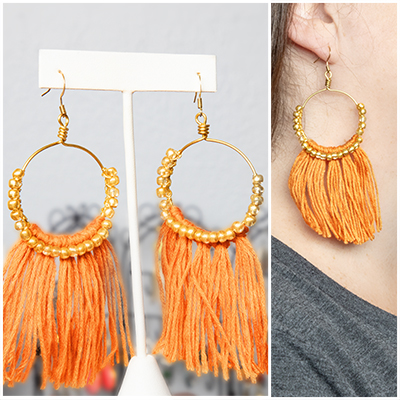 Spring Macrame Earrings