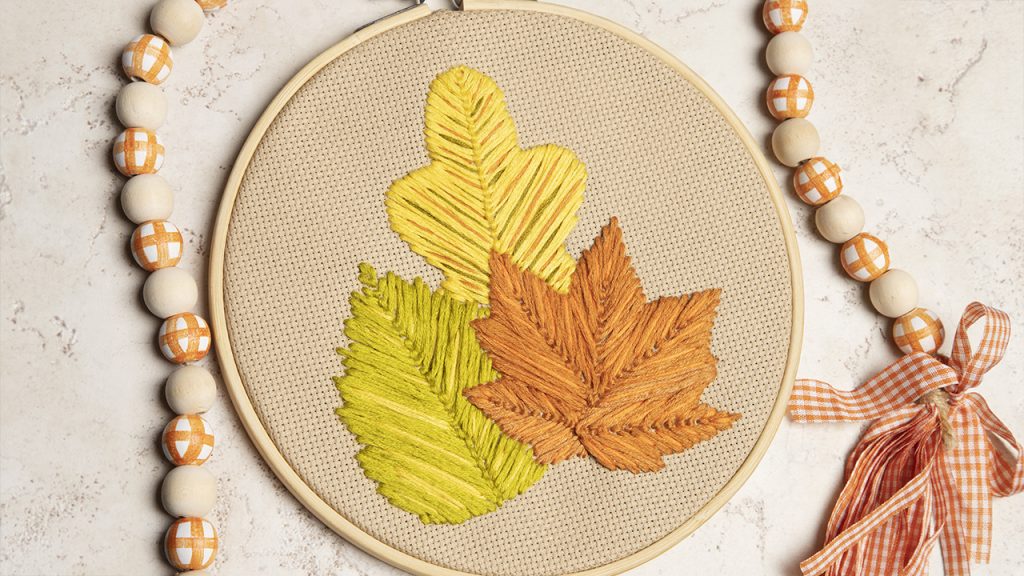
Embroidered Autumn Leaves
[addtoany]
Instructions
For step-by-step instructions on the Closed Fly and Straight stitch, download the PDF
1. Iron the cross-stitch/embroidery fabric, if necessary, and cut a 10” square. Loosen the screw on the embroidery hoop and separate the two hoops. Place the fabric over the inside hoop. Push the outside hoop down over the inside hoop. Tighten the screw fitting, stretching the fabric taut as you go.
2. Print and cut out the leaf templates. Trace and cut out the three leaf shapes to make leaf patterns.
3. Arrange the three leaf patterns on the top side of the fabric so they overlap, and the oak leaf is on the bottom and the maple leaf is on the top. Trace around the entire top maple leaf first, the middle birch leaf next, and the bottom oak leaf last. (Only trace around the portions of the last two leaves that aren’t covered by the previous leaves.)
4. Cut a double-arm length of rust colored floss. Load the middle of the floss onto the embroidery needle and tie both ends of the floss together, into a knot. (You will be embroidering with a double strand of floss.) From the back side of the fabric, bring the needle up through the fabric near the tip of the top blade of the maple leaf. Use the closed fly stitch to fill in that blade of the leaf, finishing off by stitching a double knot on the back side of the fabric and trimming off the tails. Re-loading floss onto the needle as needed, repeat this step on each blade of the maple leaf until you have filled in the entire maple leaf.
5. Cut an arm’s length of orange floss onto the embroidery needle and tie one end of the floss into a knot. (You will be embroidering the accent stitches with a single strand of floss.) Use the straight stitch to add orange floss accents into the maple leaf as desired, stitching off by stitching a double knot onto the back side of the fabric and trimming off the tails.
6. Cut a double arm length of light green colored floss. Load the middle of the floss onto the embroidery needle and tie both ends of the floss together, into a knot. From the back side of the fabric, bring the needle up through the fabric near the top of the birch leaf. Use the closed fly stitch to fill in the birch leaf, re-loading floss onto the needle as needed. Finish off by stitching a double knot on the back side of the fabric and trimming off the tails.
7. Using the same stitch and techniques as in step 5, add yellow/gold floss accents to the birch leaf.
8. Cut a double arm length of yellow colored floss. Load the middle of the floss onto the embroidery needle and tie both ends of the floss together, into a knot. From the back side of the fabric, bring the needle up through the fabric near the top of the oak leaf. Use the closed fly stitch to fill in the oak leaf, re-loading floss onto the needle as needed, to fill in the oak leaf. Finish off by stitching a double knot on the back side of the fabric and trimming off the tails.
9. Using the same stitch and techniques as in step 5, add medium/green and rust floss accents to the oak leaf.
10. One last time, make sure the fabric is pulled as taut as possible in the embroidery hoop, with the leaves centered in the middle, and the top screw fitting is snug and secure.
11. Use a utility knife to trim the back of the fabric as flush as possible with the back of the embroidery hoops.
Get the Supplies
| Image | Name | Summary | Price | Buy |
|---|
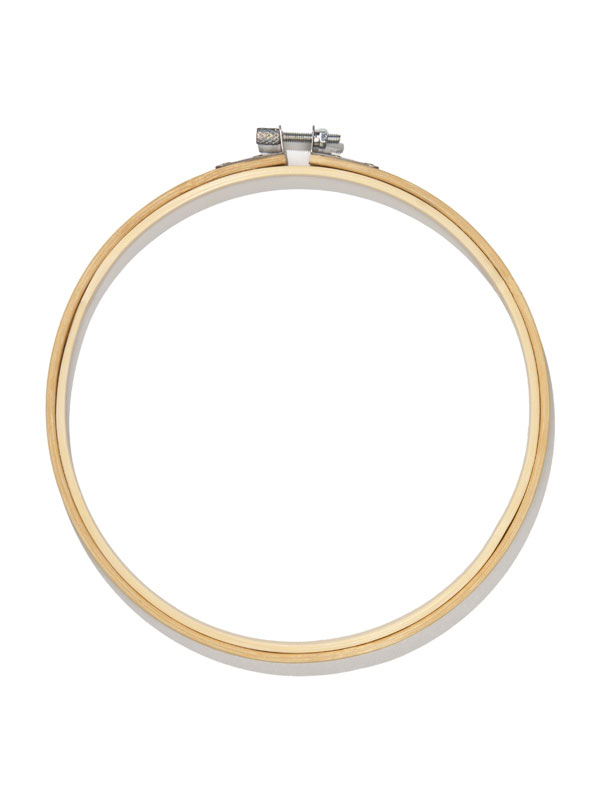
| Cousin DIY 7 Inch Wood Craft Embroidery Hoop | High quality natural wood construction
Wooden embroidery hoop bundle measures 3 inches
Embroidery hoops have L brackets to allow you to work with any desired fabric thickness
Hoops provide even tension on all fabric edges
Perfect for embroidery, needlecraft, and quilting needs
Size: 7 inch Diameter
| $2.49 |
|

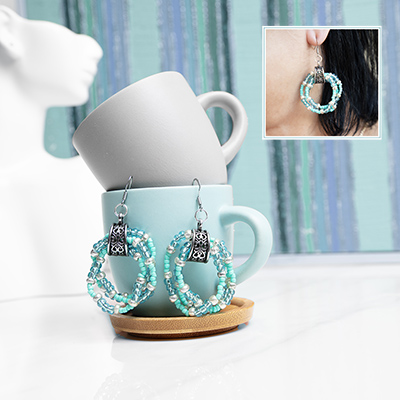 Beaded Spring Earrings
 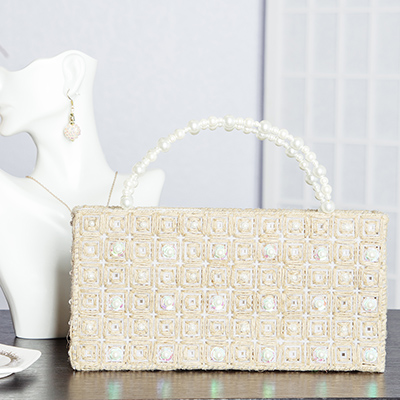 Needlepoint Plastic Canvas Hemp & Pearl Handbag
  Mother’s Day Chenille Pipe Cleaner Flower Bouquet
 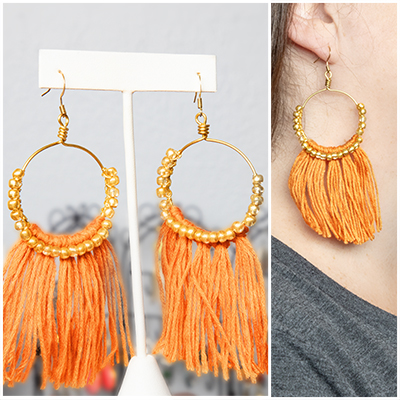 Spring Macrame Earrings